
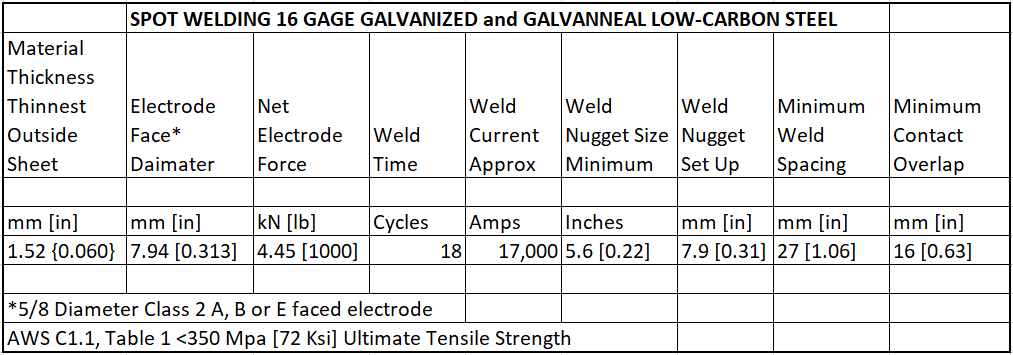
For each new resistance welding job there will be a known weld schedule or one must develop a weld schedule. For simplicity we will assume there is a known weld schedule. The data generally supplied is the electrodes and related tooling to use. The data may look like the chart below:
The set up is now to insert the electrodes selected.
FORCE:
Set the Force to 4.45 kN (1000 lbs). We do this with the air regulator on the machine:
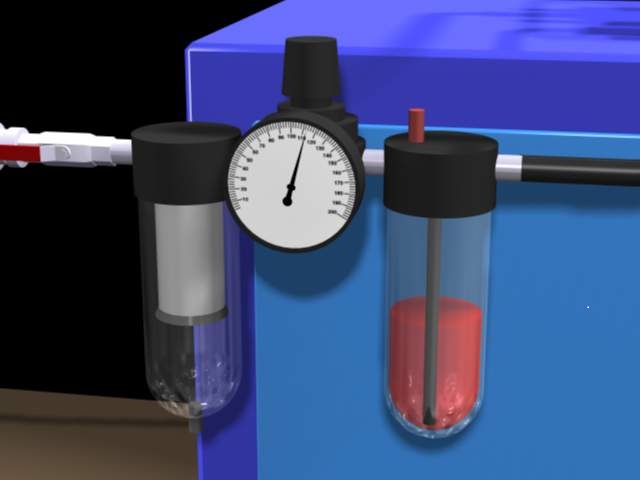
PRESSURE/FORCE REGULATER DIGITAL FORCE GAUGE
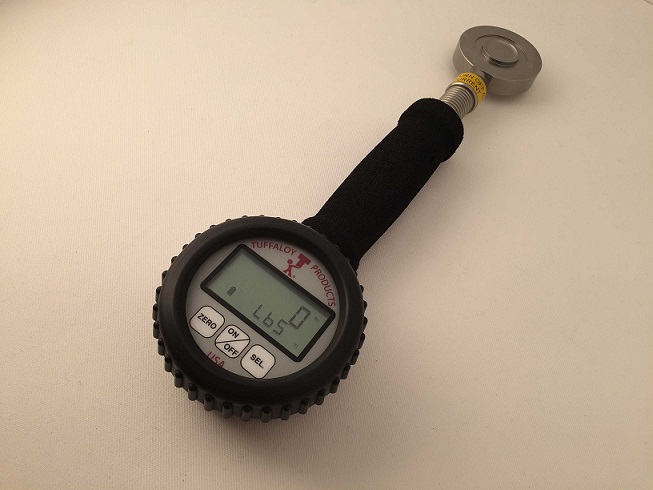
The machine normally has a chart that translates the air pressure to force at the electrodes. Always check the results with a force gauge to confirm the proper setting. For cylinders or servo actuators see the documentation supplied by the manufacturer.
CURRENT:
Determine if your transformer has a tap switch.
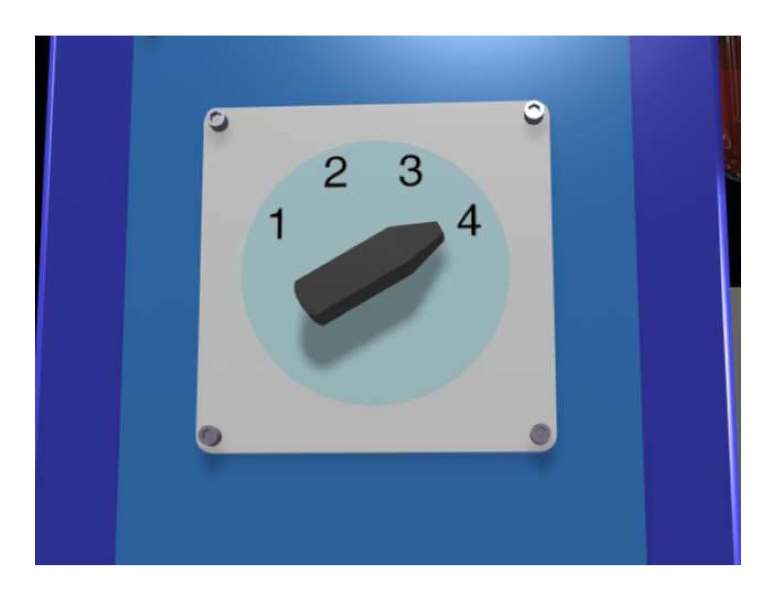
TRANSFORMER TAP SWITCH SCHEMATIC
If it does you will work with the transformer and control to set the current. If no tap switch is present then only the control will be used to set the current.
Set the tap to the lowest tap setting. This will produce the lowest voltage in the secondary. The general rule of thumb is:
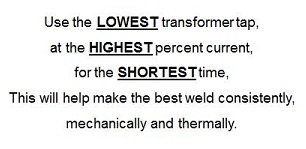
The reason for the rule is explained more fully in another article in this blog:
HOW DO YOU DETERMINE THE BEST TRANSFORMER TAP SETTING?
Based in the above one tries the lowest tap and sets the control at low settings for the first cold weld and see what you have. Then adjust settings hotter either more cycles or heat setting or current depending upon the control. If at tap #1 not enough heat is generated raise the tap to #2 and repeat. Increasing the tap increases the secondary voltage which will drive more current in the secondary. With more voltage available the control will be able to deliver more current to the part.
If your control does not give a current read out meters are available for verification and troubleshooting.
SECONDARY CURRET METER
Always increase the tap and current gradually to prevent blowing the electrode faces and part away as expulsion. Expulsion is dangerous for personnel and the equipment.
If the above schedule were yours, near these settings a weld will occur. With a little adjustment your part can be as desired.
I have not addressed squeeze time, hold time and water flow to all current carrying components. These are all part of the set up process and must be included in the basic machine/part set up.
Reference: RWMA – Resistance Welding Manual 4th Edition
AWS -AWS J1.2 Guide to Installation and Maintenance of Resistance Welding Machines